Fitted wardrobes are designed to make the most of available bedroom space, but their appearance can become dated long before the internal storage stops being useful. Old colours, worn handles and tired door styles can make a room feel less modern even when the shelving, rails and cabinet structure remain in good condition.
Replacing the visible fronts is often a practical way to update the bedroom without removing useful storage. With careful planning, homeowners can improve the appearance of fitted wardrobes while keeping the internal layout they already rely on.
Begin with a Full Wardrobe Check
Before ordering anything new, inspect the wardrobe from top to bottom. Check shelves, hanging rails, internal panels and cabinet joints for signs of wear.
If the main structure is still stable, there may be no need for a complete replacement. Small repairs can often be handled during the same project, making the wardrobe feel more solid as well as more attractive.
It is also worth checking whether the unit sits squarely against the wall, especially in older properties where floors and walls may not be perfectly level.
Choose a Door Style That Changes the Room
New modern wardrobe doors can completely alter the appearance of fitted storage. Simple slab designs can create a cleaner look, while subtly detailed fronts can add more character without making the room feel overly traditional.
Colour choice matters too. Soft neutrals can help a smaller bedroom feel brighter, while deeper shades can turn a large wardrobe into a more deliberate feature.
Because fitted wardrobes occupy a large vertical area, it is important to consider how the finish works with flooring, wall colours and other furniture.
Measure Each Front Separately
Even when several wardrobe doors appear identical, each one should be measured individually. Small differences can occur over time or may have been present from the original installation.
Record height and width carefully and create a simple layout plan. Numbering each door position can make the ordering and fitting process much easier.
This is particularly useful for long wardrobe runs where several fronts look almost the same. A clear plan reduces the risk of mixing up sizes during installation.
Review the Hinges Before Replacing the Doors
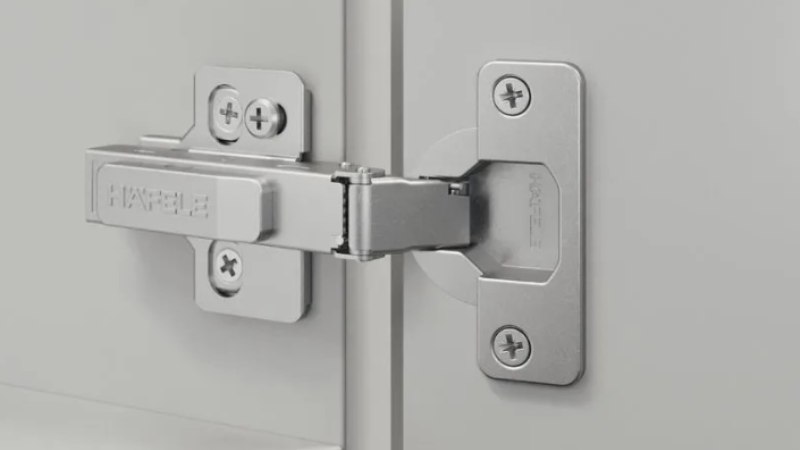
Existing wardrobe door hinges should be checked before new fronts are fitted. Worn hardware can cause doors to drop, rub against neighbouring panels or close unevenly.
Look for loose screws, stiffness, corrosion or excessive movement. If the hinges are still in good condition, they may be suitable for reuse. If they show signs of wear, replacing them at the same time can improve the finished result.
Correct hinge positioning is also important if new fronts require pre-drilled holes.
Think About Handles as Part of the Update
Handles can make a surprisingly large difference to the final look. Long vertical pulls can emphasise the height of wardrobe doors, while smaller handles create a quieter appearance.
If existing hardware is being reused, check the fixing centres before drilling the new fronts. When choosing new handles, consider both comfort and proportion.
The finish can also be coordinated with other details in the room, such as bedside lighting, drawer handles or curtain hardware.
Improve the Inside While the Doors Are Off
Replacing the fronts creates a good opportunity to review the internal storage.
Frequently used clothing should remain easy to reach, while seasonal items can be moved to higher shelves. Small organisers can help with shoes, accessories and folded clothing.
Even minor changes to the internal layout can make the wardrobe easier to use once the new doors are fitted.
Take Time with Final Alignment
New wardrobe fronts may require small adjustments after installation. Hinges can usually be fine-tuned to improve spacing between neighbouring doors.
Rather than adjusting one door in isolation, step back and look at the full run. The aim is to create consistent gaps and a balanced appearance.
In older rooms, slight differences in floors or walls can affect alignment, so visual consistency is often more important than expecting every surrounding surface to be perfectly straight.
Conclusion
Updating fitted wardrobes does not always require removing the entire structure. When shelves, rails and internal panels are still in good condition, replacing the visible fronts can provide a focused and effective bedroom refresh.
Accurate measurements, suitable hinges, thoughtful handle choices and careful alignment all contribute to a better result. By keeping useful storage in place and renewing only the parts that look dated or worn, homeowners can modernise the room with less disruption and make better use of what they already have.